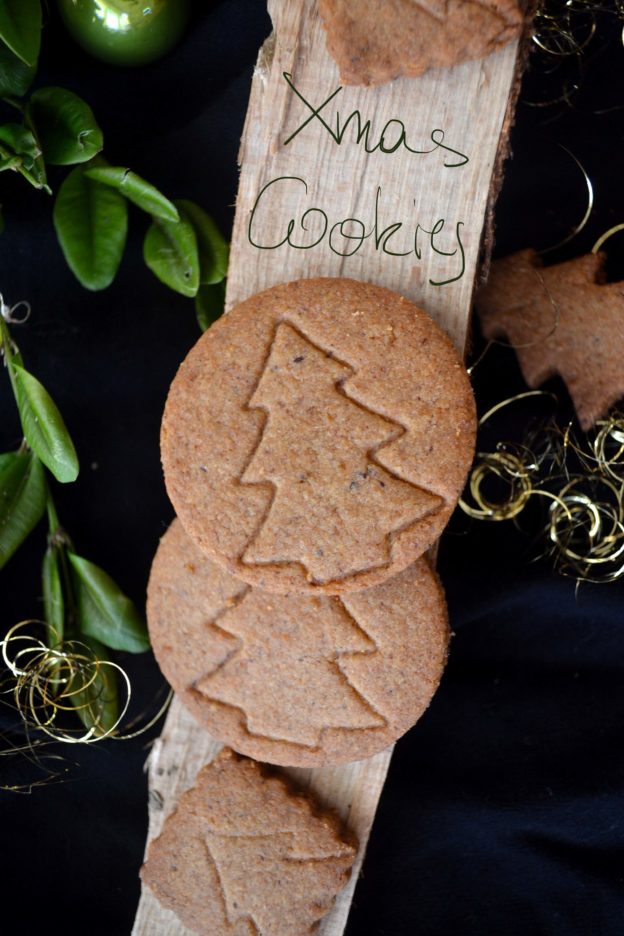
What’s Christmas without Christmas Cookies? Just wrong, right? Yes. Just like an Austrian Christmas without snow… Unfortunately I have never learned how to perform a (rain-)snow-dance, but I did bake Xmas biscuits with my mum and my brother when I was little :–) So at least one of the two anti-Xmas scenarios can be averted ;–)
Although I enjoy to munch on the Austrian classics each year, I find it always a great occasion to get creative and play with old and new recipes or make something beautiful from scratch. This year I wanted to bake something that is not just a delicious, pretty cookie. No. It had to be also a recipe that fills these quiet huge amounts of normally rather empty Xmas-cookie-calories with a jolly lot of nutrients ;–) And I have to say, they turned out surprisingly amazing! I used whole spelt flour as base and it is the first time ever that a whole meal Christmas cookie is serious competition (taste-wise) for traditional biscuits. What really makes the difference here is the chosen sweetener: coconut sugar. This stuff is pretty awesome. Gives the biscuits a nice crispy structure and that taste, my friends, absolutely gorgeous!
Give it a try and let me know what you think :–) Happy Christmas-biscuits-baking moments to you!

Ingredients:
- 160 g whole spelt flour
- 40 g coconut flour (not grated coconut!)
- 100 g butter
- 50 g coconut sugar
- 1 dash salt
- 1 tsp cinnamon
- 1 – 3 tsp of cold water
Directions:
- In a small bowl add all dry ingredients and stir until well mixed.
- Work in the butter with a pastry blender or simply cut small pieces with a knife. Then rub the butter and flour-mix between your hands until well combined and crumbly. Pour it all on your working surface, add 1 tsp of cold water (or more if necessary to bind) and knead it until you have one smooth piece of dough.
- Wrap in a generous piece of cling foil and refrigerate for at least 30 minutes.
- Flour your working surface OR put a piece of baking paper on it. Place the unwrapped piece of dough on top and cover it with the used cling foil. Roll out the dough with your rolling pin. The cling foil will keep the dough from sticking to the rolling pin and as it is transparent, you can easily check/see wether you are rolling the dough evenly. Depending on your preferences, roll it to a thickness of 3 to 5 mm.
- Preheat your oven to 200 °C top-bottom heat.
- Now is the real fun part: take out your favourite cookie cutters and get busy cutting. Once your stars and hearts and rudolphs are created, transfer them to a baking tray that is lined with baking paper.
- Knead the remaining pieces of dough into one piece and repeat rolling and cutting until the dough is used up.
- Bake for 7 to 10 minutes (depending on thickness and how your oven works). Make sure to keep a close eye on them. When the edges are getting a tiny bit of colour they are ready to leave the heat. Let them cool for a few minutes on the tray (as they break easily while hot), then transfer to a cooling rack.
- Enjoy!
Yields one baking tray (45×38 cm) worth of cookies.

